Director’s Note: Every unit we open up is tied to the overall site grid that was established back in 1989. There are several brass plate permanent datum points cemented into the ground. From these we place stakes along the grid in the areas we wish to investigate. As noted, we are set up to explore a portion of Block 6. Running a field school requires teaching the students all the basics to the controlled recovery of all cultural material. Therefore, what may seem mundane to the professional is all new to these students. Having proper methods allows the cultural materials recovered to be studied years from now with the same associations as they had when first exposed from the ground.
This week as part of our usual work in the field, Dr. Bush tasked us with opening up two additional 2 meter by 2 meter excavation units under the weather port . Doing so would allow us to extend our investigation of the Block 6 Hospital Mess, but also hopefully provide us with a better understanding of the conditions Confederate POWs faced here at Johnson’s Island.
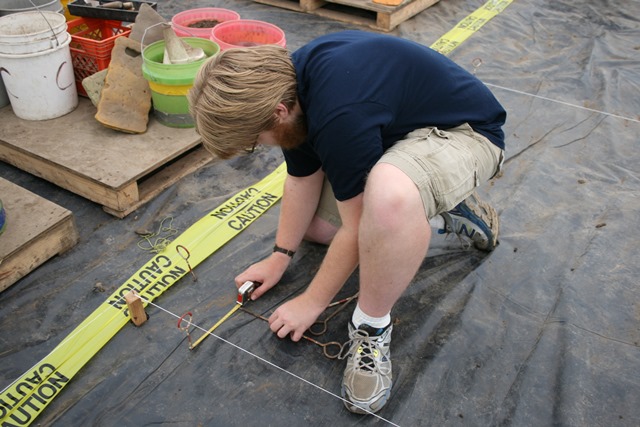
First and foremost, we needed to plot out where the new units were going to be put in—in our case, immediately north of the units we have been working on. Lucky for us, Dr. Bush had already placed wooden stakes two meters from the either end of the already open excavation units from which we could guide our own measurements. Atop the two stakes were nails that we used to create a boundary line by cutting and then stringing some string tightly between the two.
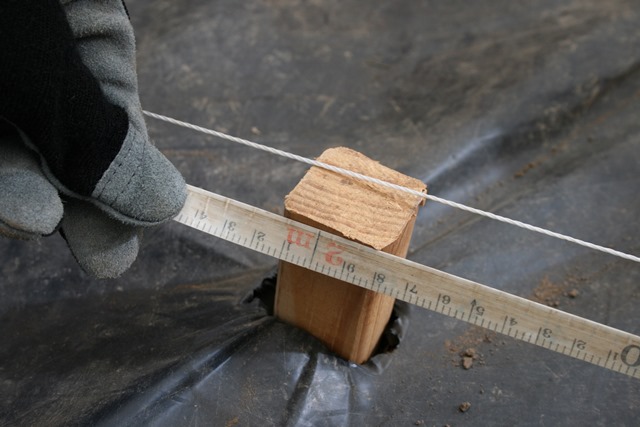
The key is to keep the string in line with the stakes.
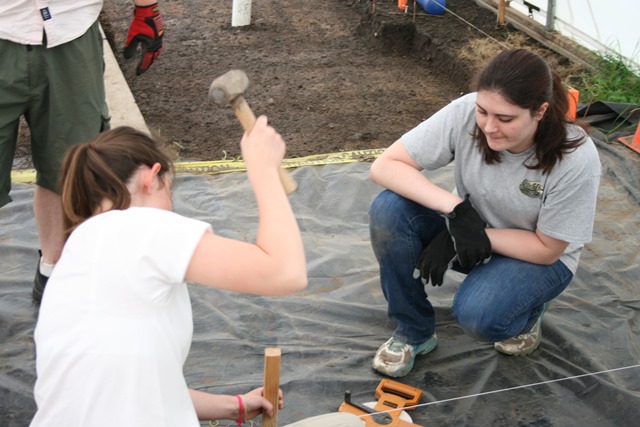
It takes skill to pound a straight stake.
From there we measured out two meters from either end, pounding in wooden stakes at each of the two meter intervals so as to mark where our new (as well as future) units were to go, which we spray painted bright orange. Then, we hammered a nail into the 2-meter mark on each of the new stakes that we cut and attached string to as a way of creating the full boundaries of each new 2 by 2.
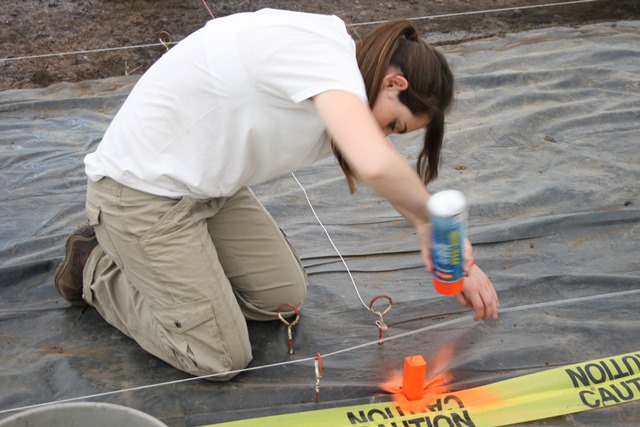
Making the stakes very visible
Once all the stakes were in and the string set up, it was time to deal with the caution tape. We lay two strips of caution tape spanning the north boundary of our excavation units to keep people from stepping on the edge and causing the wall to collapse into the unit. With new units being opened up, we needed to remove the current caution tape and put new down. This was easily done. First we pulled up the nails holding the caution tape down, threw away the old, and then rolled out fresh at the new north boundary of our units that we ultimately pushed nails into to keep flat.
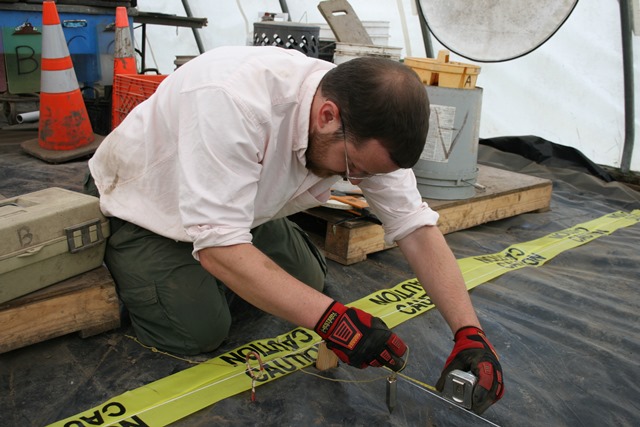
Notice the caution tape.
With that done, we needed to create what are referred to as bulks. These are squares at each corner of an excavation unit that are left undisturbed so as to support the unit and mark the boundary. At each corner we measured 20 centimeters out on each inside side, marked the spot with a small hole made by a plumb bob, and placed a metal stake with a ring at the top (known as a chaining pin) at each mark.
Jackson marking in the corner of the bulk
A third stake was added by finding the point where at 20 centimeters out the two stakes meet. This was repeated for all corners of the new units. The string marking out the boundaries of the new units was then inserted into the rings on the stakes.
Next it was time for the tarp to be cut and carefully removed. Although we staked out for four total units, we only removed the tarp from the two we wanted to open up (N220 E134 and N220 E136), revealing the topsoil and sod remnants underneath.

Cutting the tarp
With the new units finally ready, it was time to start excavating. At this point in time we have not gone far enough past the surface to really find much more than grass roots, but we all have faith in the items hiding underneath just waiting to be FS-ed. We will certainly keep you posted on what is found in these two units.

We’re glad our structure were useful for excavations. We love to see how our structures are being used and Archaeology in practice. You can learn more about another structure used for archaeology here http://www.weatherport.com/archaeology/.